
| 일 | 월 | 화 | 수 | 목 | 금 | 토 |
|---|---|---|---|---|---|---|
| 1 | 2 | 3 | 4 | |||
| 5 | 6 | 7 | 8 | 9 | 10 | 11 |
| 12 | 13 | 14 | 15 | 16 | 17 | 18 |
| 19 | 20 | 21 | 22 | 23 | 24 | 25 |
| 26 | 27 | 28 | 29 | 30 | 31 |
- 플로이드와샬
- Blockchain
- 알고리즘
- 그래프
- BFS
- 백트래킹
- NeuralNetwork
- Node.js
- dfs
- Greedy
- ReLU
- 실버쥐
- C++
- 캡스톤정리
- 탐색
- ios
- 부르트포스
- Docker
- 풀이
- Swift
- 그리디
- Algorithm
- dp
- 백준
- Stack
- sigmoid
- mysql
- 문제풀이
- 프로그래머스
- DeepLearning
- Today
- Total
개발아 담하자
[iOS/Swift] NavigationBar with Gradient Color , 네비게이션 바 커스텀하기 본문
Navigation Bar 를 예쁘게 커스텀 해보자!
1. UIColor Extension
extension UIColor {
    convenience init(red: Int, green: Int, blue: Int) {
        assert(red >= 0 && red <= 255, "Invalid red component")
        assert(green >= 0 && green <= 255, "Invalid green component")
        assert(blue >= 0 && blue <= 255, "Invalid blue component")
        self.init(red: CGFloat(red) / 255.0, green: CGFloat(green) / 255.0, blue: CGFloat(blue) / 255.0, alpha: 1.0)
    }

    convenience init(rgb: Int) {
        self.init(
            red: (rgb >> 16) & 0xFF,
            green: (rgb >> 8) & 0xFF,
            blue: rgb & 0xFF
        )
    }
}
Designated init 과 convinience init 의 차이점
- Designated init (지정 initializer) 은 이 클래스의 모든 프로퍼티가 초기화 되어야 한다.
init 프로퍼티에서 클래스 프로퍼티가 하나라도 빠지게 된다면 오류가 발생한다. - convinience init 은 보조 initializer 이다.
위 UIColor Extension 은 UIColor를 hexadecimal 하게 초기화 할 수 있도록 한다.
예 : UIColor(rgb: 0xFC4761)
2. UIImage Extension
extension UIImage {
    // allows creating image from CALayer.
    class func image(from layer: CALayer) -> UIImage? {
        UIGraphicsBeginImageContextWithOptions(layer.bounds.size,
                                               layer.isOpaque, UIScreen.main.scale)
        defer { UIGraphicsEndImageContext() }
        // Don't proceed unless we have context
        guard let context = UIGraphicsGetCurrentContext() else {
            return nil
        }
        layer.render(in: context)
        return UIGraphicsGetImageFromCurrentImageContext()
    }
}
위 UIImage Extension 은 CALayer 에서 이미지를 만들 수 있도록 한다.
CALayer란? 🤔

실제로는 UIView에 속하며 실질적으로 뷰 위에 컨텐츠와 애니메이션을 그리는 행위를 담당한다. 그리고 가볍다!
UINavigationController
UINavigationController.swift 파일을 생성한 후 다음 함수를 작성한다.
1. Set variables
    let orangeGradient = [UIColor(rgb: 0xFC4761), UIColor(rgb: 0xFC5763), UIColor(rgb: 0xFD6C64), UIColor(rgb: 0xFD8667), UIColor(rgb: 0xFD9367)]
    let orangeGradientLocation = [0.0, 0.25, 0.5, 0.75, 1.0]
    lazy var colorView = { () -> UIView in
        let view = UIView()
        view.isUserInteractionEnabled = false
        navigationBar.addSubview(view)
        navigationBar.sendSubviewToBack(view)
        return view
    }()
orangeGradient 는 navigation 에서 사용할 색상들의 배열이다.
2. configNavigationBar()
   func configNavigationBar() {
       navigationBar.barStyle = .default
       navigationBar.shadowImage = UIImage()
       navigationBar.isTranslucent = false
       navigationBar.prefersLargeTitles = true
       navigationItem.largeTitleDisplayMode = .always
       navigationBar.tintColor = UIColor.white
       navigationBar.largeTitleTextAttributes = [NSAttributedString.Key.foregroundColor: UIColor.white]
       navigationBar.titleTextAttributes = [NSAttributedString.Key.foregroundColor: UIColor.white]
   }
navigationBar 기본 상태를 설정해준다.
3. gradientImage()
   func gradientImage(withColours colours: [UIColor], location: [Double], view: UIView) -> UIImage {
        let gradient = CAGradientLayer()
        gradient.frame = view.bounds
        gradient.colors = colours.map { $0.cgColor }
        gradient.startPoint = (CGPoint(x: 0.0,y: 0.5), CGPoint(x: 1.0,y: 0.5)).0
        gradient.endPoint = (CGPoint(x: 0.0,y: 0.5), CGPoint(x: 1.0,y: 0.5)).1
        gradient.locations = location as [NSNumber]
        gradient.cornerRadius = view.layer.cornerRadius
        return UIImage.image(from: gradient) ?? UIImage()
    }
gradient image 를 만든다. startPoint, endPoint 를 조절해서 gradient 방향을 조절할 수 있다.
(지금은 수평 방향이다.)
4. changeGradientImage()
    func changeGradientImage() {
        // 1 status bar
        colorView.frame = CGRect(x: 0, y: -UIApplication.shared.statusBarFrame.height, width: navigationBar.frame.width, height: UIApplication.shared.statusBarFrame.height)

        // 2 setting color
        colorView.backgroundColor = UIColor(patternImage: gradientImage(withColours: orangeGradient, location: orangeGradientLocation, view: navigationBar).resizableImage(withCapInsets: UIEdgeInsets(top: 0, left: navigationBar.frame.size.width/2, bottom: 10, right: navigationBar.frame.size.width/2), resizingMode: .stretch))

        // 3 small title background
        navigationBar.setBackgroundImage(gradientImage(withColours: orangeGradient, location: orangeGradientLocation, view: navigationBar), for: .default)

        // 4 large title background
        navigationBar.layer.backgroundColor = UIColor(patternImage: gradientImage(withColours: orangeGradient, location: orangeGradientLocation, view: navigationBar).resizableImage(withCapInsets: UIEdgeInsets(top: 0, left: navigationBar.frame.size.width/2, bottom: 10, right: navigationBar.frame.size.width/2), resizingMode: .stretch)).cgColor
    }
gradientImage 를 navigation bar 에 적용한다.
small title 일 경우, large title 일 경우 모두 처리한다.
5. ViewDidLoad()
    override func viewDidLoad() {
        super.viewDidLoad()

        configNavigationBar()
        changeGradientImage()
    }
viewDidLoad 에서 앞서 만든 두 함수를 호출한다.
Setting on Storyboard
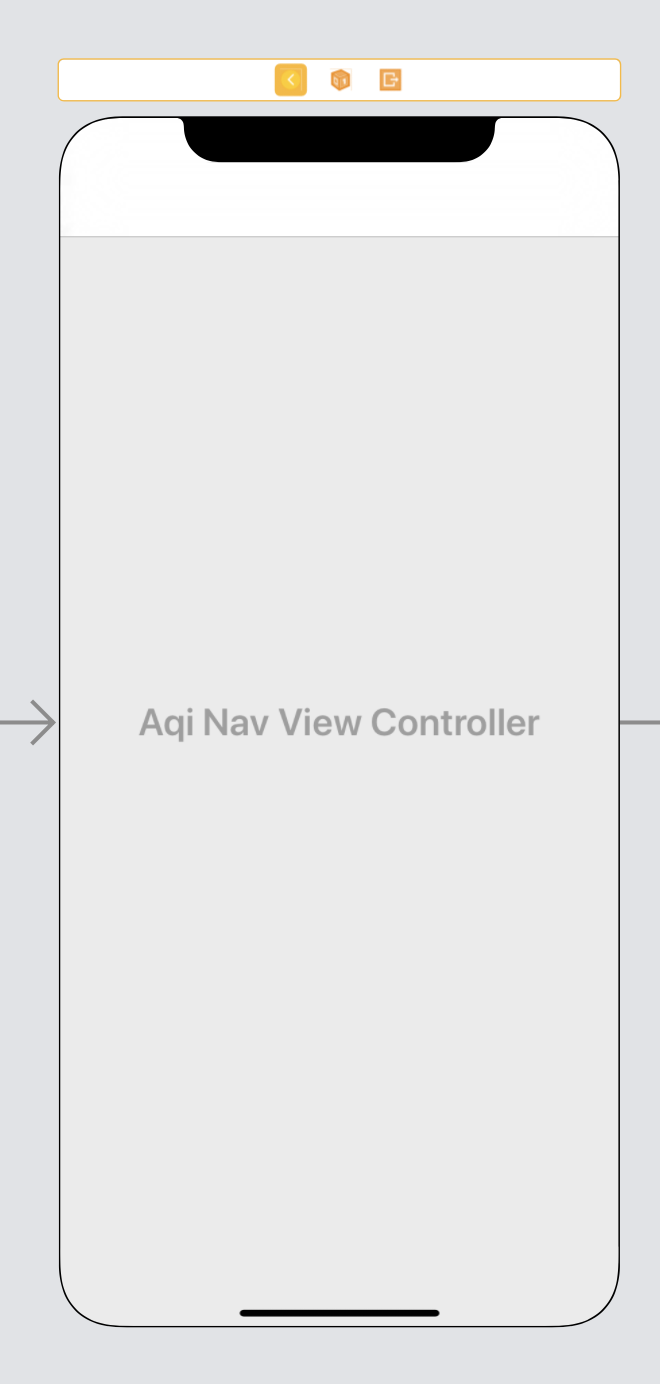
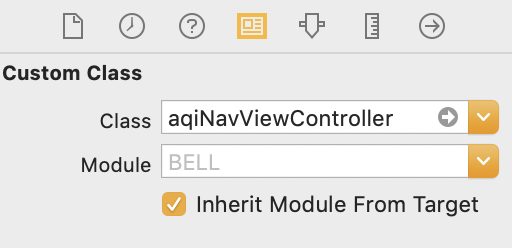
navigation controller 를 누른 다음 우리가 작성한 navigationViewController.swift 파일을 세팅한다.
이제 실행시켜 확인해보자❗️
Screenshot 📱
'📱 iOS' 카테고리의 다른 글
| [iOS/RxSwift] RxSwift 시작하기 (Observable, Subject, Operator) (0) | 2020.08.08 |
|---|---|
| [iOS/Swift] Apple Map 사용하기 (CLLocation으로 내 위치 이동하기, 원하는 지역으로 이동하기) (1) | 2020.06.26 |
| [iOS/Swift] XML을 통한 UI 그리기 (1) (0) | 2020.05.25 |
| [iOS/Swift] AVAudioPlayer 를 사용한 MusicPlayer 만들기 (0) | 2020.05.25 |
| [iOS/Swift] URLSession 으로 API 연결하기 (0) | 2020.05.23 |


